How to Make Spinning Reel Handles by CNC
How to Make Spinning Reel Handles by CNC
published June 28, 2024
upated/ November 25, 2025

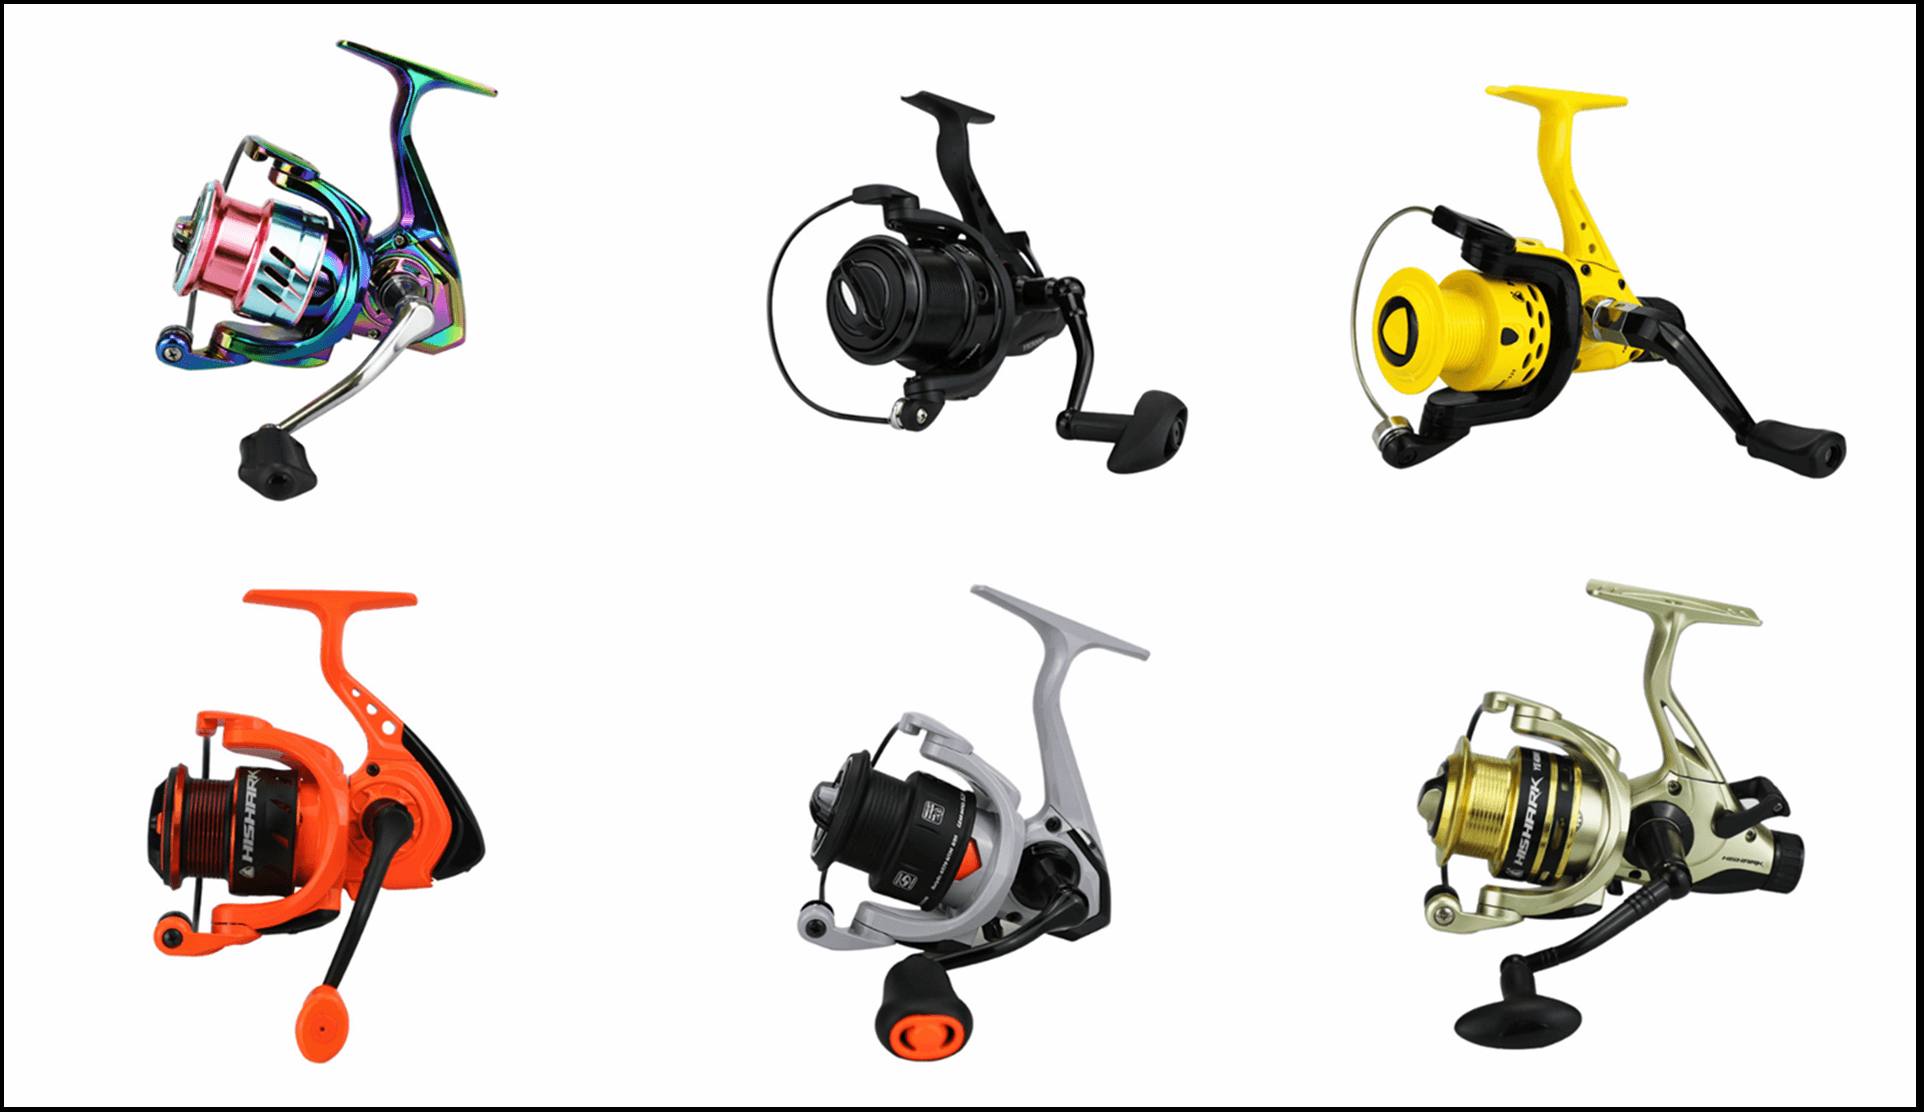
how to produce spinning reel handles?
Creating spinning reel handles using CNC (Computer Numerical Control) machinery offers precision and customization that can elevate your fishing gear. This comprehensive guide will cover everything from materials and design to the CNC machining process and finishing touches. Here’s a detailed Table of Contents followed by the full guide.
Introduction
Creating spinning reel handles using CNC technology provides unmatched precision and customization. This guide will take you through the process step-by-step, from selecting materials to final assembly, ensuring you create a high-quality, durable handle.
Understanding CNC Technology
CNC machining involves using computer-controlled tools to remove material from a workpiece, shaping it into the desired form. This technology offers high precision and repeatability, making it ideal for crafting intricate spinning reel parts like reel handles and long cast spool.
Materials and Tools Needed
Materials
- High-quality aluminum or composite material
- Handle knob (custom-made or purchased)
Tools
- CNC machine
- CAD software (e.g., SolidWorks, AutoCAD)
- CAM software (e.g., Mastercam, Fusion 360)
- Sandpaper (various grits)
- Epoxy or strong adhesive
- Screws and washers
- Measuring tools (caliper, micrometer)
Designing Your Spinning Reel Handles
A. Choosing the Right Software
Select CAD (Computer-Aided Design) software to create a 3D model of your handle. Popular and wise choices include SolidWorks, Fusion 360, and AutoCAD.
B. Creating the CAD Model
- Designing the Shape: Use the CAD software to sketch the handle’s basic shape. Ensure it fits comfortably in your hand and matches the reel’s mounting specifications.
- Adding Details: Incorporate ergonomic features such as finger grooves or a contoured grip. Add any aesthetic details to make your handle unique.

Preparing for CNC Machining
A. Selecting the CNC Machine
Choose a CNC machine that fits the spinning reel sizes and complexity of your handle design. For intricate designs, a 3-axis CNC machine is often sufficient.
B. Setting Up the Machine
- Tool Selection: Select the appropriate cutting tools (end mills, drills) based on your material and design.
- Material Preparation: Secure the material block in the CNC machine’s vise or fixture, ensuring it is firmly held to avoid movement during machining.
CNC Machining Process
A. Cutting the Spinning Fishing Reel Handle
- Loading the CAD Model: Import your CAD model into CAM (Computer-Aided Manufacturing) software to generate the tool paths.
- Initial Cutting: Begin with a rough cut to remove excess material. This step shapes the general outline of the handle.
B. Shaping and Detailing
- Precision Cutting: Use finer tools to achieve the detailed aspects of your design. This includes ergonomic features and aesthetic details.
- Finishing Passes: Perform finishing passes to smooth the surfaces and edges, ensuring a refined look and feel.
Post-Machining Processes
A. Sanding and Smoothing
- Initial Sanding: Use coarse-grit sandpaper to remove any burrs or rough edges left from machining.
- Fine Sanding: Progress to finer grits for a smooth, polished finish. Pay special attention to areas that will be in direct contact with your hand.
B. Finishing Touches
- Surface Treatment: Apply a protective coating, such as anodizing for aluminum, to enhance durability and aesthetics.
- Final Inspection: Check for any remaining imperfections and sand or polish as needed.
Assembling Spinning Reel Handles
- Attaching the Knob: Drill a hole for the handle knob, ensuring a snug fit. Secure the knob with epoxy or screws.
- Mounting Holes: Drill precise holes for attaching the handle to the reel. Ensure alignment for smooth operation.
- Final Assembly: Attach the handle to the fishing reel using screws and washers. Tighten securely to prevent loosening during use.
Testing and Quality Assurance
- Function Test: Rotate the handle to ensure smooth, friction-free movement. Check for any wobbling or misalignment.
- Comfort Test: Hold the reel with the new handle to assess comfort and ergonomics. Make any necessary adjustments.
Maintenance and Care Tips
- Regular Cleaning: Wipe the handle with a damp cloth after each use to remove dirt and debris.
- Reapply Coating: Periodically reapply protective coatings to maintain the handle’s appearance and durability.
- Inspect for Wear: Regularly check for signs of wear or loosening screws and tighten or repair as needed.
You can learn a lot from benefits of fishing.
Conclusion for Spinning reel handles
Crafting a spinning reel handle using CNC technology combines precision and customization, resulting in a high-quality, durable handle tailored to your needs.
By following this guide, you can create a handle that enhances your fishing experience with its unique design and superior functionality.
Finally there is a fantastic article on how to assemble fishing reel handles for your reference.