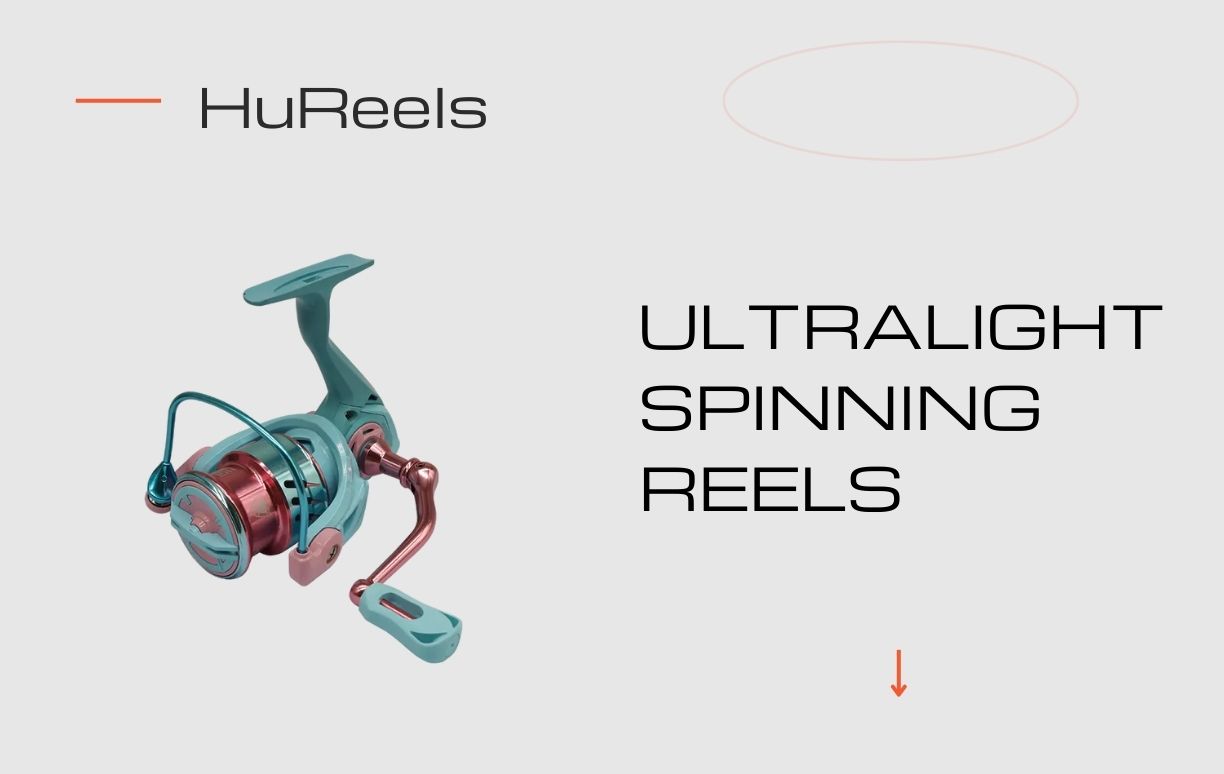
How to Put Line on a Spinning Reel
To put line on a spinning reel, start by attaching your reel to the rod. Open the bail to allow easy threading of the line. Tie the spinning reel line to the spool using an arbor knot. Close the bail and tighten the line with your fingertips.
Begin reeling in the line, maintaining steady tension to ensure even spooling. Fill the spool, but leave a small gap (about 1/8 inch) from the edge. Cut the spinning reel line from the supply spool, leaving a few inches of tag end. Secure the line to prevent unraveling. Using the right type of line and avoiding overfilling are crucial for optimal performance.
Regularly check your spinning reel line for wear and damage. Properly spooled line ensures smooth casting, minimizes tangles, and enhances your overall fishing experience. Regular maintenance of your fishing reel and line will extend their lifespan. This is how to put line on a spinning reel.
- How to Put Line on a Spinning Reel
- Introduction of spinning reel line
- Materials Needed for spinning reel line
- Step 1: Assemble Your Gear
- Step 2: Open the Bail
- Step 3: Attach the Line to the Reel
- Step 4: Close the Bail
- Step 5: Apply Tension
- Step 6: Start Reeling
- Step 7: Fill the Spool
- step 8: Cut the Line
- Step 9: Secure the Line
- Detailed Tips for Success
- Common Mistakes to Avoid
- Maintenance Tips of spinning reel line
- Advanced Techniques
- Troubleshooting Common Issues
- Conclusion for spinning reel line
Introduction of spinning reel line
Setting up your spinning reel with the correct line is crucial for an enjoyable and successful fishing experience. Properly spooling the line ensures smooth casting, reduces tangles, and maximizes the reel’s performance. This guide will take you through the detailed process of putting line on a spinning reel, ensuring you’re ready for your next fishing trip.
Materials Needed for spinning reel line
– Fishing rod
– Fishing line (monofilament, fluorocarbon, or braid)
– Scissors or line cutter
– Line conditioner (optional)
– Towel or cloth
Step 1: Assemble Your Gear
Start by assembling your fishing rod and attaching the spinning reel. This setup will make the process of spooling the line much easier and more efficient. Ensure the reel is securely fastened to the rod.
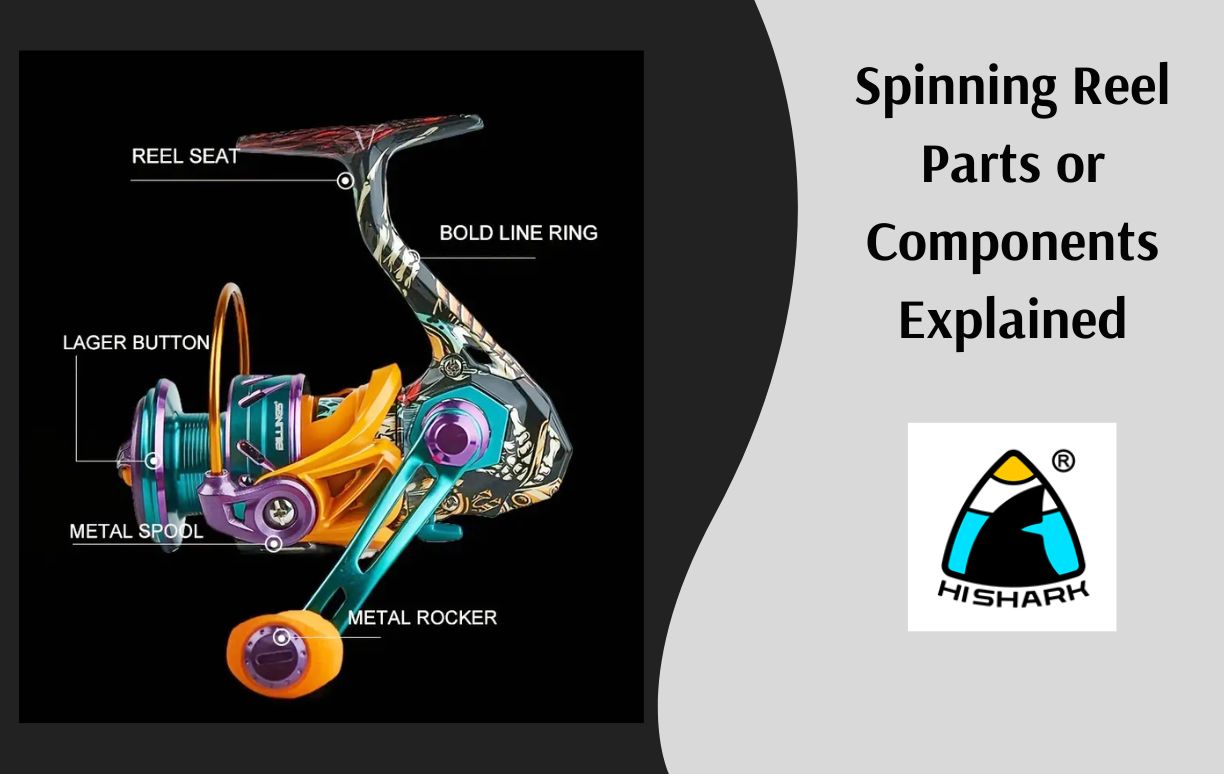
Step 2: Open the Bail
The bail is the wire arm on the reel that guides the line onto the spool. Flip the bail open to allow the line to be threaded through the guides. This step is crucial as it prevents the line from getting tangled or improperly wound.
Step 3: Attach the Line to the Reel
Monofilament/Fluorocarbon Line: Begin by tying the line to the spool using an arbor knot. Wrap the line around the spool twice and then tie a simple overhand knot. Tie another overhand knot at the tag end of the line. Pull the main line tight so the knots secure against the spool.
Braided Line: Braided line can slip on the spool if tied directly. To prevent this, start with a few wraps of monofilament backing. Secure the braided line to the backing using a uni knot.
Step 4: Close the Bail
After securing the line to the spool, close the bail. Ensure the line is properly threaded through the rod guides. This step is essential to prevent line twist and ensure smooth reeling.
Step 5: Apply Tension
Hold the line between your fingers or use a line tensioner to apply consistent tension. This tension is crucial to prevent loose coils and ensure the line winds evenly onto the spool.
Step 6: Start Reeling
Begin reeling the line onto the spool at a steady, moderate pace. Use your free hand to maintain tension on the line. Periodically check the line to ensure it’s winding evenly and adjust the tension if necessary.
Step 7: Fill the Spool
Continue reeling until the spool is filled. A good rule of thumb is to leave a small gap (about 1/8 inch) from the edge of the spool. Overfilling can cause tangles, while underfilling reduces casting distance.
step 8: Cut the Line
Once the spool is filled to the desired level, cut the line from the supply spool, leaving a few inches of tag end.
Step 9: Secure the Line
Tie the end of the line to the reel’s line clip or use a rubber band to secure it. This step prevents the line from unraveling when not in use.

Detailed Tips for Success
Choose the Right Line
Monofilament: Ideal for beginners due to its stretch and forgiving nature. It’s versatile and easy to handle.
Fluorocarbon: Less visible underwater, making it perfect for clear water fishing. It’s more sensitive and abrasion-resistant.
Braided: Known for its strength and durability. Ideal for tough cover and deep-water fishing.
Avoid Line Twist
Line twist is a typical problem that can cause tangles. To avoid this, lay the supply spool on the ground with the label side facing up. Ensure that the line exits the spool in the same direction as it entered the reel.
Check Line Capacity
Every reel has a line capacity rating. Match your line to this rating to avoid overloading the spool. Overloading can lead to performance issues and tangles.
Use a Line Conditioner
Applying a line conditioner can reduce memory and improve casting performance. Spray it onto the line periodically as you spool it onto the reel.
Common Mistakes to Avoid
Overfilling the Spool
Too much line on the spool can lead to tangles and poor casting performance. Always leave a small gap at the edge of the spool to prevent overfilling.
Ignoring Line Twist
Line twist can cause knots and tangles. Always ensure the line comes off the supply spool in the same direction it goes onto the reel to prevent this issue.
Using Incorrect Knots
Securing the line with proper knots is essential to prevent slippage. Use the appropriate knot for your line type to ensure a secure connection to the spool.
Not Checking Line Condition
Regularly inspect your line for nicks, frays, or other damage. Damaged line can affect performance and lead to break-offs. Replace any damaged sections immediately. Sometimes cranking the spinning reel handle for quality control.
Maintenance Tips of spinning reel line
Regular Cleaning
Salt and debris can damage your reel and line. Rinse your reel with fresh water after each use, especially if you’re fishing in saltwater. This step helps to remove any corrosive elements that could damage the reel or line.
Check Line for Wear
Inspect your line regularly for any signs of wear, such as nicks, frays, or discoloration. Replace the line or damaged sections as needed to maintain optimal performance.
Store Properly
Keep your reel and rod in a dry and cool area. Avoid prolonged exposure to sunlight and extreme temperatures, as these can weaken the line and damage the reel.
You also can see our how to maintain a spinning reel. That is similar with maintenance of fishing line.
Advanced Techniques
Spooling Braid with Backing
When using braided line, it’s essential to start with a few wraps of monofilament backing. This keeps the braid from sliding off the spool. After securing the backing, attach the braid using a uni knot and continue spooling as usual.
Using a Line Counter
For precise line measurement, consider using a line counter. This tool helps ensure you spool the exact amount of line needed for your fishing conditions.
Applying Tension with a Buddy
Having a friend hold the supply spool while you reel in the line can ensure consistent tension. This method helps prevent line twist and ensures even spooling.
Troubleshooting Common Issues
Line Twist
If you notice line twist while spooling, stop and check the supply spool’s orientation. Ensure that the line exits the spool in the same direction as it entered the reel. Adjust if necessary and continue spooling.
Uneven Line Spooling
Uneven spooling can cause casting issues. If you notice the line is not winding evenly, adjust the tension and check the reel’s line guide for obstructions.
Line Slippage
If the line slips on the spool, especially with braid, ensure you’ve used backing or applied sufficient initial wraps. Retie the knot if necessary and continue spooling.
Conclusion for spinning reel line
Properly spooling your spinning reel line is essential for a smooth and successful fishing experience. By following these detailed steps and tips, you can ensure your reel performs optimally, reducing the risk of tangles and improving casting distance. Regular maintenance and careful handling will extend the life of your line and reel, making your fishing trips more enjoyable and productive.